使用github action部署hugo博客
目录
警告
本文最后更新于 2023-02-02,文中内容可能已过时,请谨慎使用。
注意
hugo 版本为 0.107.0_extended, 主题为 Luna, node 版本为 16.x
1.概述
Hugo 都是静态博客,最终生成的是一些静态页面,而所谓部署就是把这些静态文件放到 web 服务器(比如 Nginx、Caddy) 的对应目录就行了。
因此整个 Github Action 只需要做两件事:
- 1)编译,生成静态文件
- 2)部署,把静态文件移动到合适的位置
- 比如放到某个云服务器上
- 或者放到 Github Pages
然后我们再通过 git push 来触发 Github Action 就可以了。
注意
后面的实现是将静态文件部署在 Github Pages,部署到云服务器的方式类似
2.部署方法
1.创建两个仓库。
第一个是项目仓库,该仓库用于存放 hugo 博客的全部源代码(不包括生成的 public 目录,如果生成了请删除),建议设置为私有仓库。这里仓库名为hugo_blog。
第二个是站点仓库,该仓库用于存放生成的静态文件。仓库名称为username/username.github.io。
2.设置 token
在https://github.com/settings/tokens创建一个用于部署的token,该token需要可以访问和部署username/username.github.io,保存该token。
点击https://github.com/xxx/hugo_blog/settings/secrets/actions添加Actions secret,Name为TOKEN,Secret为上面的 token

3.编写 Github Action
需要在hugo_blog仓库根目录下创建.github/workflow这个二级目录,然后在 workflow下创建github_action.yml文件来配置 Github Action。
发布到静态博客的action代码如下:
name: CI

on: [push]

jobs:
    deploy:
        env:
          HUGO_VERSION: ${{ github.sha }}
          TZ: Asia/Shanghai
        runs-on: ubuntu-latest

        steps:

            - name: Git checkout
              uses: actions/checkout@v3
              with:
                submodules: true  # Fetch Hugo themes (true OR recursive)
                fetch-depth: 0    # Fetch all history for .GitInfo and .Lastmod

            - name: Set git config core.quotepath false # https://github.com/gohugoio/hugo/issues/9810#issuecomment-1107519804
              run: git config --global core.quotepath false

            - name: Use Node.js
              uses: actions/setup-node@v3.6.0
              with:
                node-version: '16.x'

            - name: Install Theme
              run: cd themes/hugo-theme-luna && yarn install --production


            - name: Install PostCSS-CLI
              run: npm install postcss-cli -g

            - name: Setup hugo
              uses: peaceiris/actions-hugo@v2.6.0
              with:
                hugo-version: '0.107.0'
                extended: true

            - name: Build Hugo
              run: echo "HUGO_VERSION -> $HUGO_VERSION" && hugo --gc --minify --cleanDestinationDir

            - name: Hugo-Encrypt
              run: cd themes/hugo-theme-luna && node ./hugo-encrypt.js

            - name: Deploy
              uses: peaceiris/actions-gh-pages@v3
              with:
                personal_token: ${{ secrets.TOKEN }}
                external_repository: "seminorm/seminorm.github.io"
                publish_branch: master
                publish_dir: ./public
                force_orphan: true
                user_name: your_name
                user_email: your_email
注意
只需要修改三个地方,分别是设置secrets.TOKEN,填写自己的用户名和邮箱
整个 Action 大致以下步骤:
- 1)拉取源码
- 2)拉取最新主题
- 3)安装 nodejs,使用 node 安装部分依赖
- 4)准备 hugo 环境
- 5)使用 hugo 编译生成静态文件
- 6)把生成的静态文件发布到 Github Pages
以下是本教程用到的action
- actions/checkout
- actions/setup-node
- peaceiris/actions-hugo
- peaceiris/actions-gh-pages
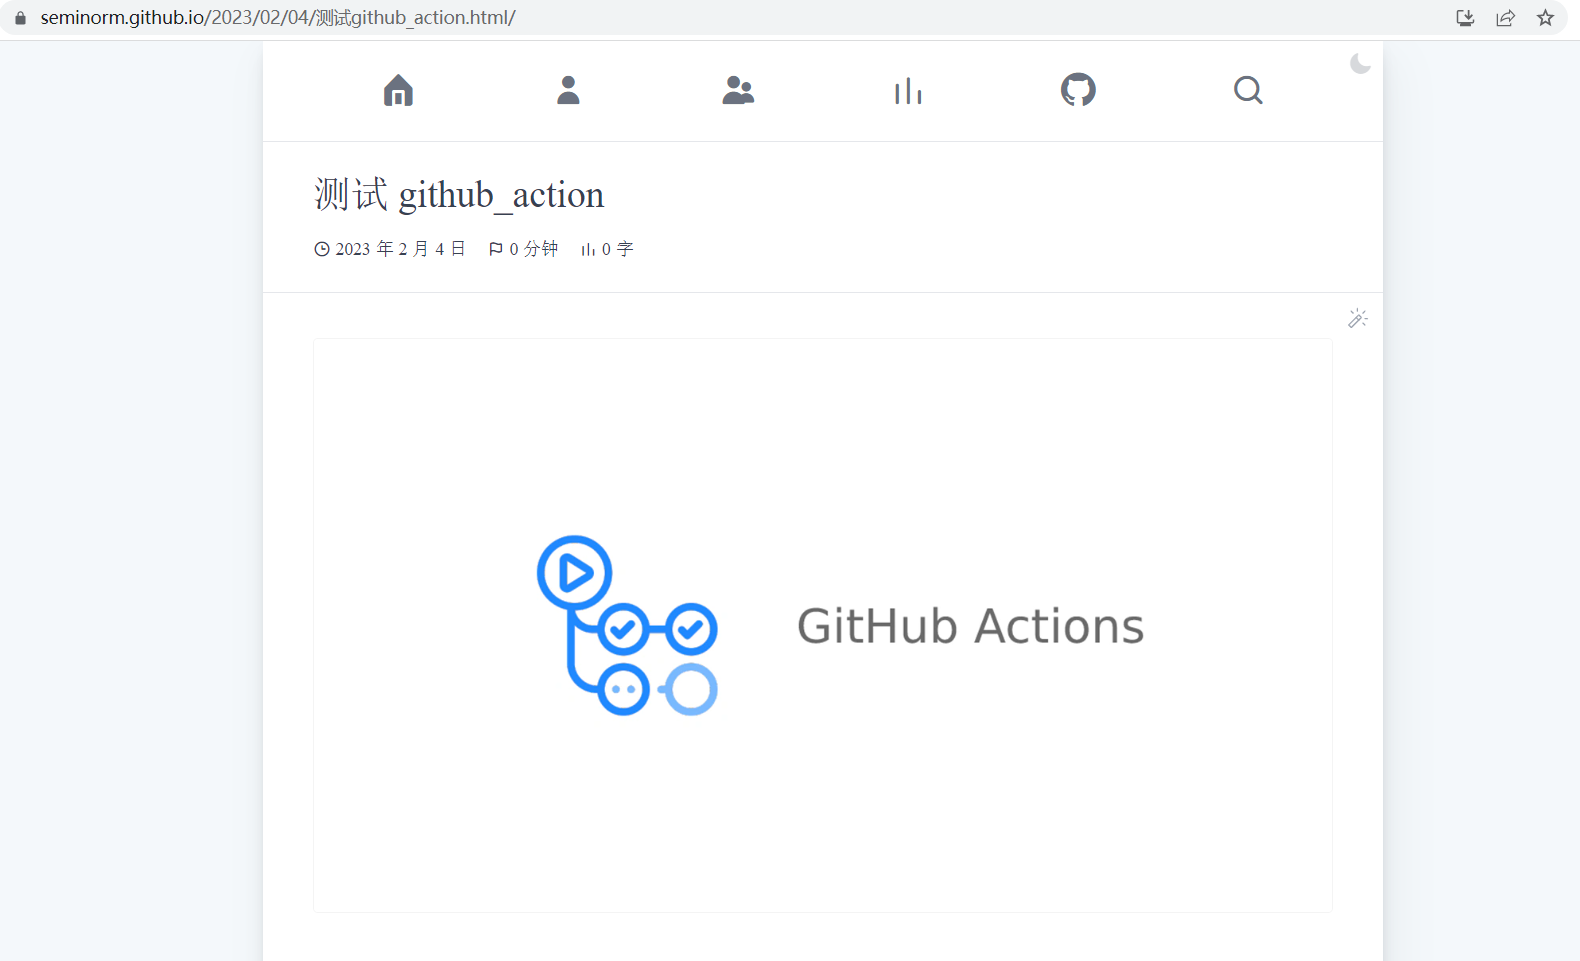
这样就配置完成了,每次在本地 push 项目仓库,Github Pages就会自动改变
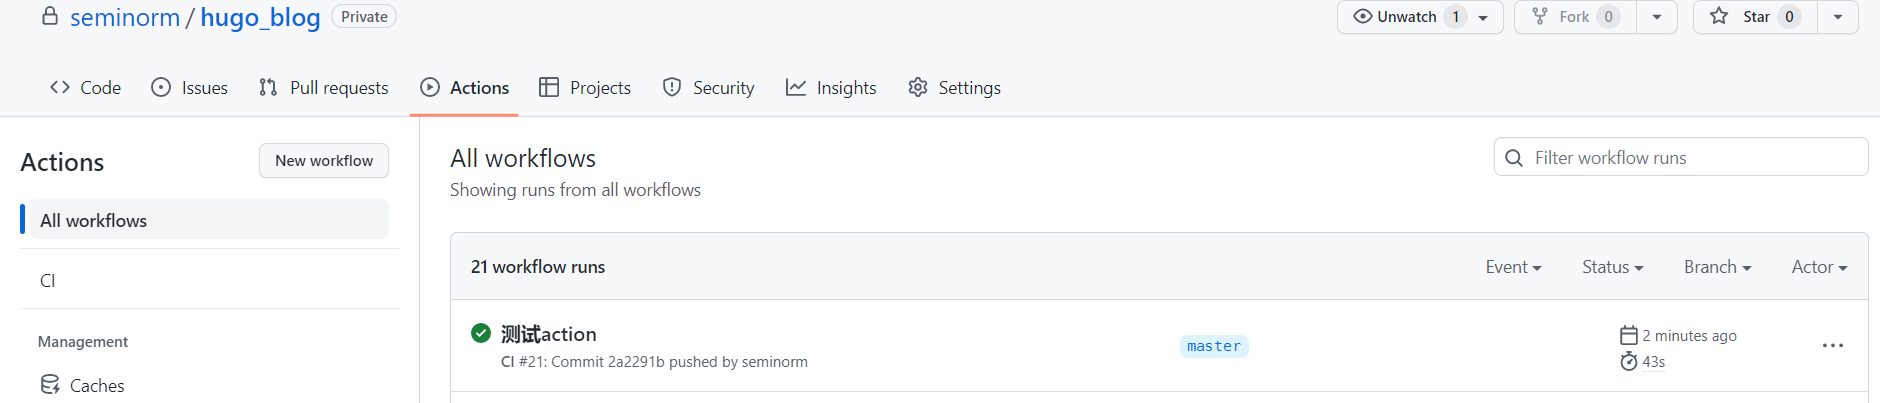
4.测试
hugo_blog中新增一篇文章,然后进行推送!
hugo new posts/test/index.md
git add .
git commit -m '测试action'
git push