使用Spring Boot Admin服务
目录
警告
本文最后更新于 2023-03-20,文中内容可能已过时,请谨慎使用。
简介
Spring Boot Admin (SBA) 是一个社区开源项目,用于管理和监视 Spring Boot 应用程序。
通过 SBA 可以浏览所有被监控的 Spring Boot 项目,详细的 Health 信息、内存信息、JVM 系统和环境属性、垃圾回收信息等。
搭建一个 SBA 服务端(Server),其他被监控的 Spring Boot 应用作为客户端(Client),客户端通过 HTTP 的方式将自己注册到服务端,以供服务端进行监控服务
SBA 服务端
1.导入依赖
<dependency>
    <groupId>de.codecentric</groupId>
    <artifactId>spring-boot-admin-server</artifactId>
    <version>2.7.9</version>
</dependency>

<dependency>
    <groupId>de.codecentric</groupId>
    <artifactId>spring-boot-admin-server-ui</artifactId>
    <version>2.7.9</version>
</dependency>
注意上述依赖的版本号需与 SpringBoot 版本一致
2.配置application.yml
# 配置spring-boot-admin-server地址
spring:
    boot:
        admin:
            client:
                url: "http://localhost:8000/admin-server"
            context-path: "/admin-server"
# 配置端口号
server:
    port: 8000
3.在启动类上添加@EnableAdminServer注解
@SpringBootApplication
@EnableAdminServer
public class SpringBootAdminServerApplication {

    public static void main(String[] args) {
        SpringApplication.run(SpringBootAdminServerApplication.class, args);
    }

}
启动项目,访问http://localhost:8000/admin-server

SBA 客户端
1.导入依赖
注意spring-boot-admin-starter-client版本号和 SpringBoot 项目版本号一致
<dependency>
    <groupId>de.codecentric</groupId>
    <artifactId>spring-boot-admin-starter-client</artifactId>
    <version>2.7.9</version>
</dependency>
2.配置application.yml
# 配置spring-boot-admin-server-client
spring:
    boot:
        admin:
            client:
                url: http://localhost:8000/admin-server #要注册的server端的url地址
    application:
        name: spring-boot-admin-client-1 # 应用名

# 项目端口
server:
    port: 9000

#开放端点用于SpringBoot Admin的监控
management:
    endpoint:
        shutdown:
            enabled: true #开启端点
        health:
            show-details: always # 是否展示健康检查详情
    endpoints:
        web:
            exposure:
                include: "*" # 暴露所有端点
    health:
        ldap:
            enabled: false #关闭对ldap的健康检查

# 配置日志文件路径,springAdmin服务端可实时查看
logging:
    file:
        name: logs/info.log
重新访问服务端地址: http://localhost:8000/admin-server
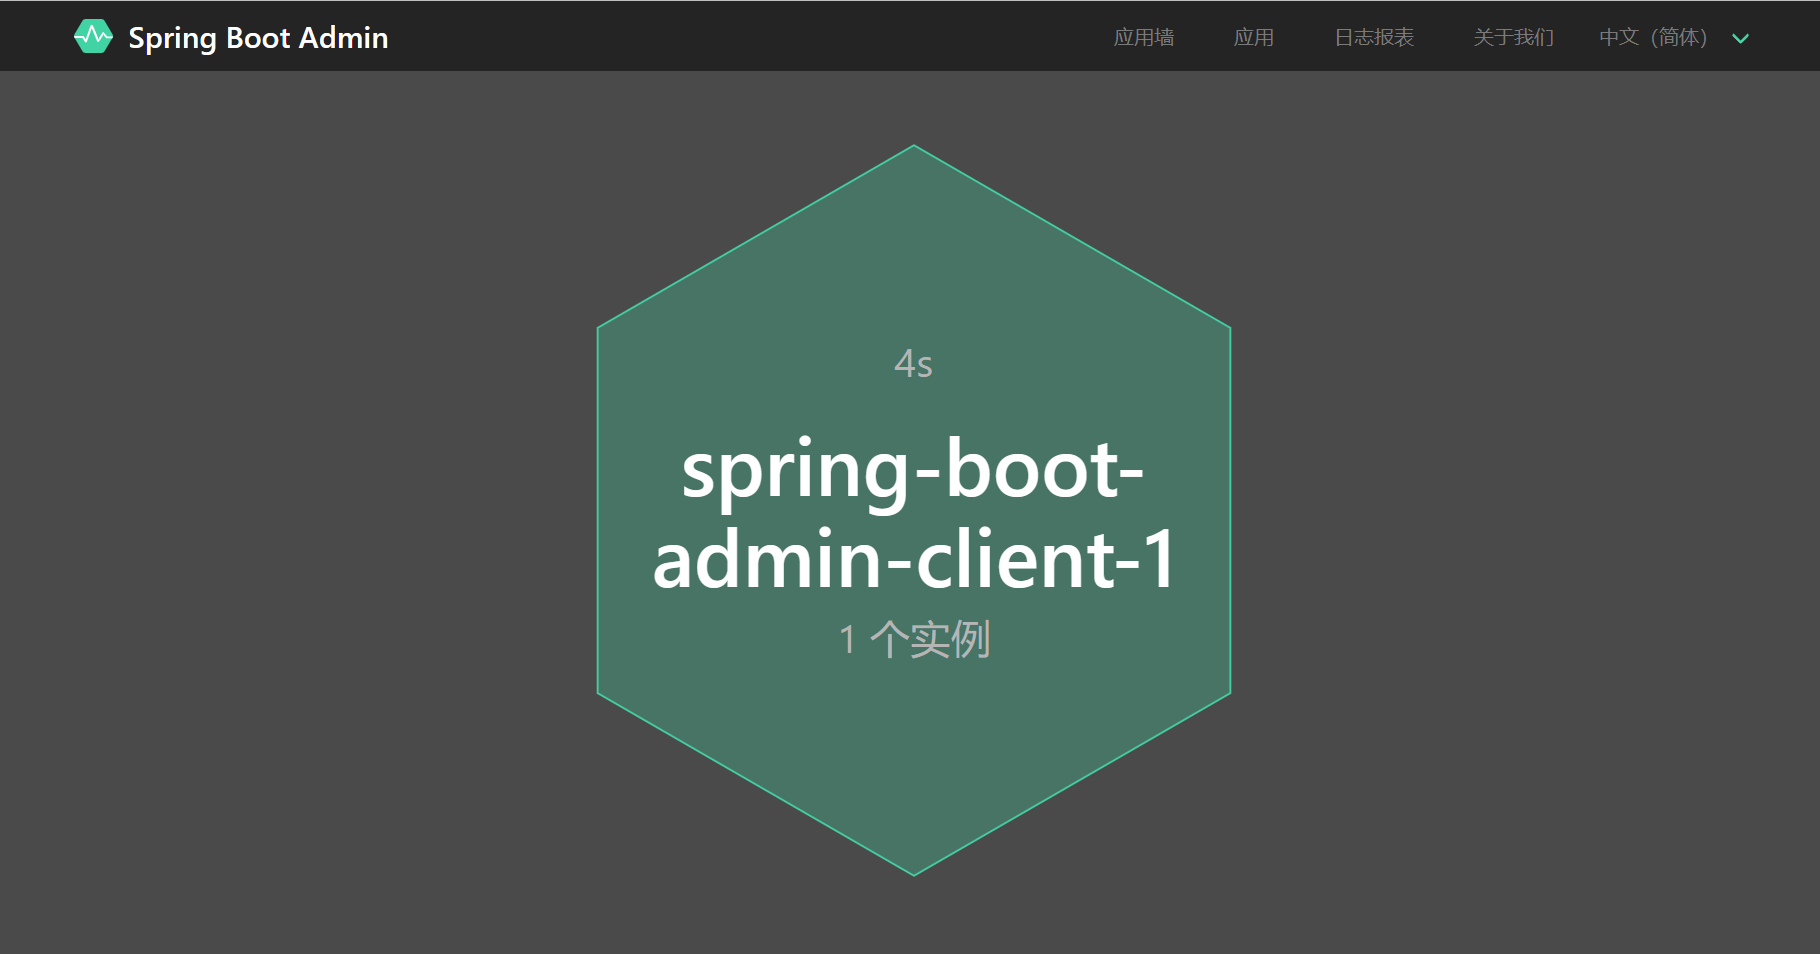
点击应用墙

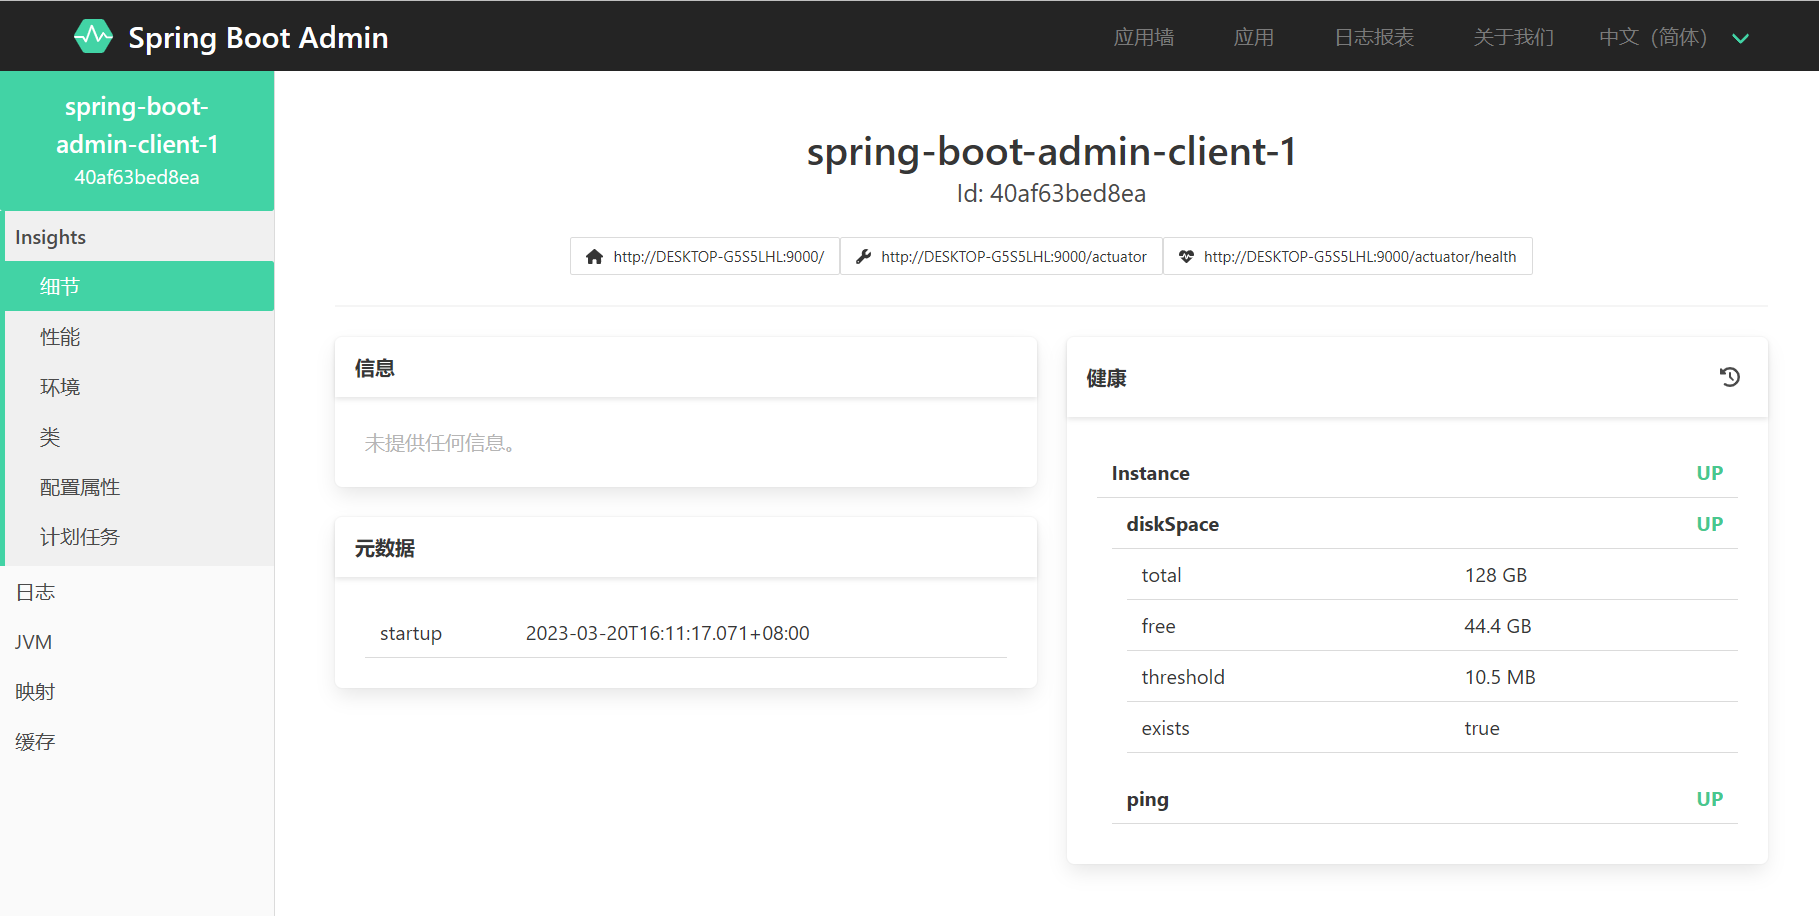
点击中心的实例模块查看更多信息

点击日志,可以查看应用在控制台的输出,验证了上面的日志配置

配置邮件通知
SBA 服务端也可以配置邮件预警服务,默认情况下对于被检测的应用启动或者停止的时候会触发预警。
1.添加邮件依赖:
<dependency>
    <groupId>org.springframework.boot</groupId>
    <artifactId>spring-boot-starter-mail</artifactId>
</dependency>
2.修改后的 admin-server 配置文件
spring:
    mail:
        host: smtp.163.com
        username: xxx@163.com
        password: 授权码
        properties:
            mail:
                smtp:
                    auth: true
                    starttls:
                        enable: true
                        required: true
    boot:
        admin:
            client:
                url: "http://localhost:8000/admin-server"
            context-path: "/admin-server"
            notify:
                mail:
                    from: xxx@163.com
                    to: xxx@qq.com

server:
    port: 8000
重新启动服务端和客户端测试
应用启动邮件通知

应用下线邮件通知

开启登录验证
1.在服务端导入Spring Security依赖
<dependency>
    <groupId>org.springframework.boot</groupId>
    <artifactId>spring-boot-starter-security</artifactId>
</dependency>
2.在服务端配置Spring Security
@Configuration
public class SecuritySecureConfig extends WebSecurityConfigurerAdapter {

    private final String adminContextPath;

    public SecuritySecureConfig(AdminServerProperties adminServerProperties) {
        this.adminContextPath = adminServerProperties.getContextPath();
    }

    @Override
    protected void configure(HttpSecurity http) throws Exception {
        SavedRequestAwareAuthenticationSuccessHandler successHandler = new SavedRequestAwareAuthenticationSuccessHandler();
        successHandler.setTargetUrlParameter("redirectTo");
        successHandler.setDefaultTargetUrl(adminContextPath + "/");
        http.authorizeRequests()
            //1.配置所有静态资源和登录页可以公开访问
            .antMatchers(adminContextPath + "/assets/**").permitAll()
            .antMatchers(adminContextPath + "/login").permitAll()
            .anyRequest().authenticated()
            .and()
            //2.配置登录和登出路径
            .formLogin().loginPage(adminContextPath + "/login").successHandler(successHandler).and()
            .logout().logoutUrl(adminContextPath + "/logout").and()
            //3.开启http basic支持,admin-client注册时需要使用
            .httpBasic().and()
            .csrf()
            //4.开启基于cookie的csrf保护
            .csrfTokenRepository(CookieCsrfTokenRepository.withHttpOnlyFalse())
            //5.忽略这些路径的csrf保护以便admin-client注册
            .ignoringAntMatchers(
            adminContextPath + "/instances",
            adminContextPath + "/actuator/**"
        );
    }
}
3.添加配置
服务端设置用户名和密码
spring:
    security:
        user:
            name: admin
            password: 123456
客户端设置要连接的服务端的账号密码
spring:
    boot:
        admin:
            client:
                url: http://localhost:8000/admin-server #要注册的server端的url地址
                username: admin #连接服务端的账号和密码
                password: 123456


